Adding Related Posts to your Squarespace blog.
In the most of the blogs, after reading a post, you see the related articles or related posts section, which connects the relative articles and encourages the visitor to do more hits on the blog!
Do you need to add this feature to your blog?
Follow the following step by step procedure for related posts:
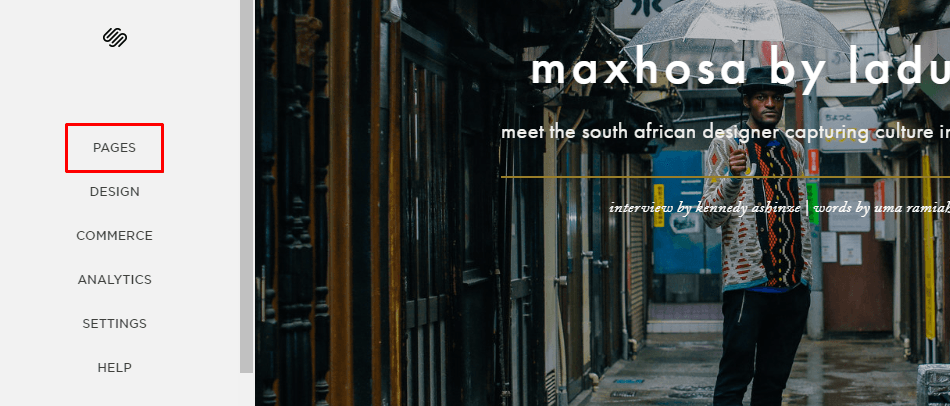
Step-1. Select the blog Pages from the dashboard on the left:
Step-2. Select “Blog” to edit it – which is the Blog Collection title. you have to select the blog page which blog collection you want to show related post. once you will select blog page will be come huge posted blog. I selected News & Features blog page
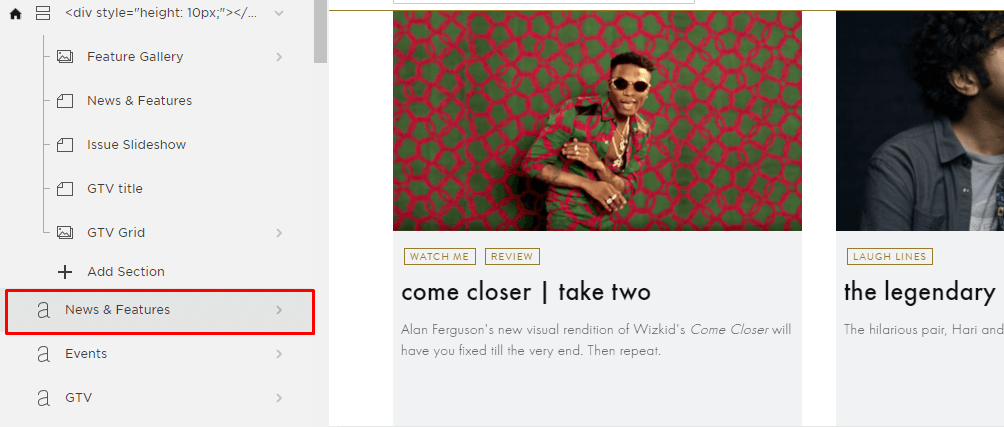
When you select the blog page you will see posted blog. edit the blog post.
actually you know squarespace has huge limitation. so for the related post i am adding summery block for every post, that is the way to show related articles or related posts.
you can show article filter by
Category
Tag
author
its very easy to show look like what you want and if you want you can customize future individually.
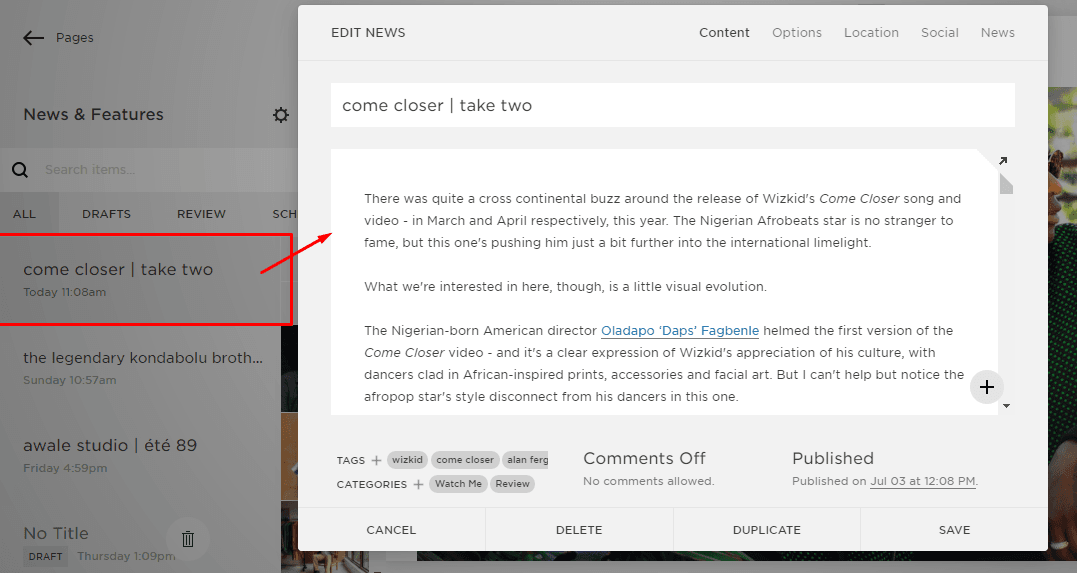
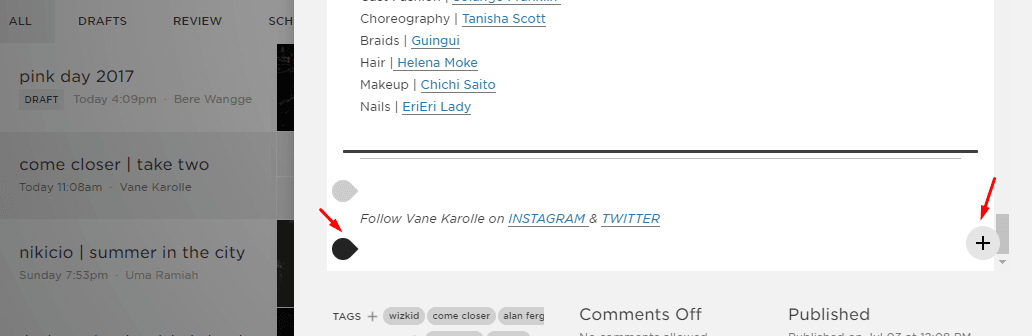
Step-3. To Edit post Scroll down to the bottom of the page until you reach the end of the post. you need to add summery Block to the End of the post. you can use both icon to add summery block.
[button color=”” size=”” type=”outlined” target=”_blank” link=”https://kabirpost.com/squarespace-website/”]Learn how to build Squarespace website [/button]
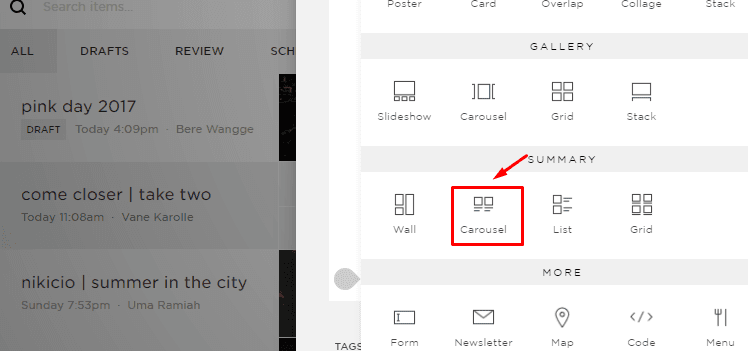
Step-4. From the Summary group, select Carousel:
Step-5. To the left of the editing panel, you can see a live preview with selected blog posts for the selected block. Now we want to select the source of the posts to be displayed, here we click on News & Features.
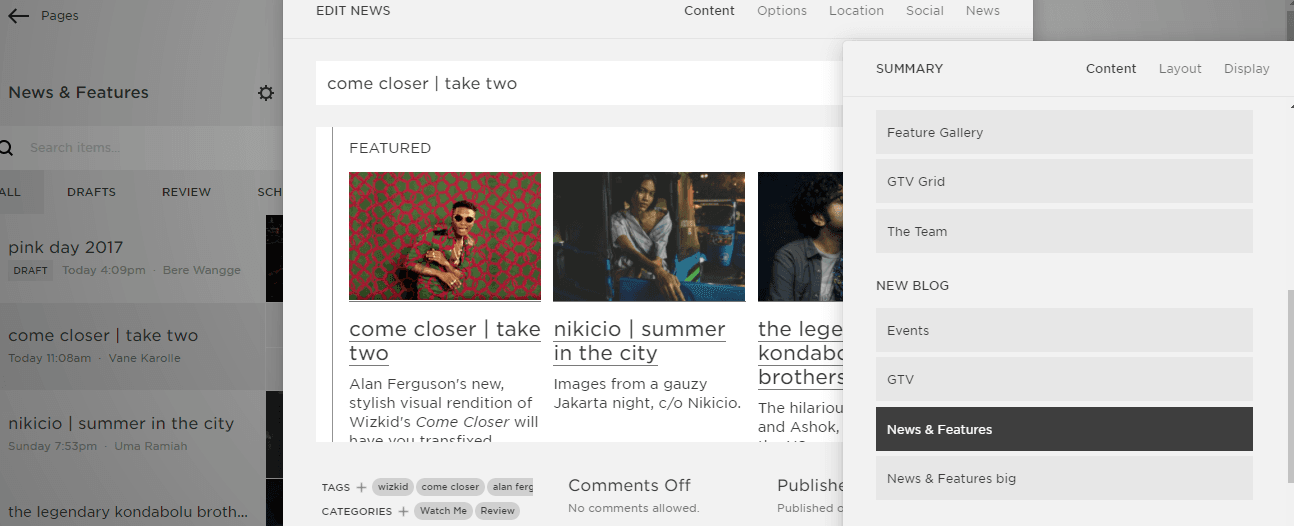
We click on the Layout menu on the top left then we can a group of display setting that are easily customized, such as:
a. The posts layout and display order
b. The text to be displayed as a title, here a good practice is to rename Featured to Related Posts
c. Aspect ratio, to adjust image size ratio to the metadata text below it.
d. Number of items to be displayed per row.
e. Text size (Large, Normal, Medium).
f. Text alignment (Left, Right, Center).
g. Metadata position (Above Title, Below Title, Below Content).

Here are my preferred options and their preview:
Aspect Ratio: 3:2 Standard
Items per row: 04
Number of Items: 04 Items
Step-6.
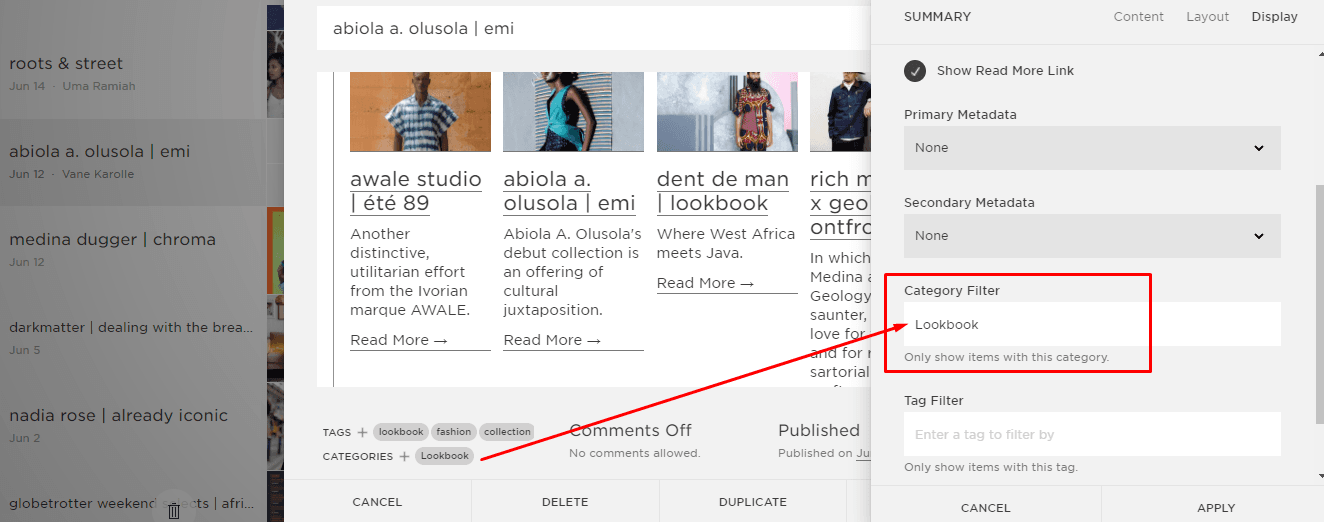
Now we are going to specify the content that we need to display in this section:
Looking at the options, you can see:
a- Number of items: the maximum number of items to be displayed.
b- Different elements to display or not.
c- Secondary and Primary metadata.
Now you should pay attention for the last options: Category and Tags
Category: This field lets you decide specifically which posts to display based on their category.
Tags: This field lets you decide specifically which posts to display based on the tags they have.
And here I am using “Tag” to display the related posts:
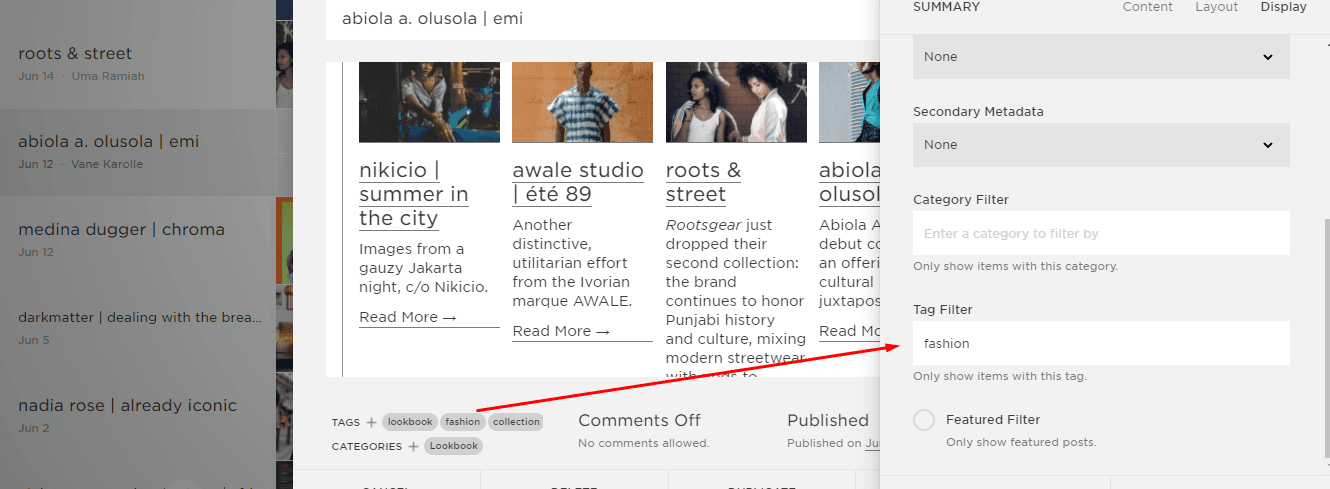
Finally, don’t forget to save your work!
if this article any helpful please comment on the comment box and share it to know other about Adding Related Posts to your Squarespace blog.
Thanks